Embroidering Bags: How to Create Beautiful One-of-a-Kind Pieces
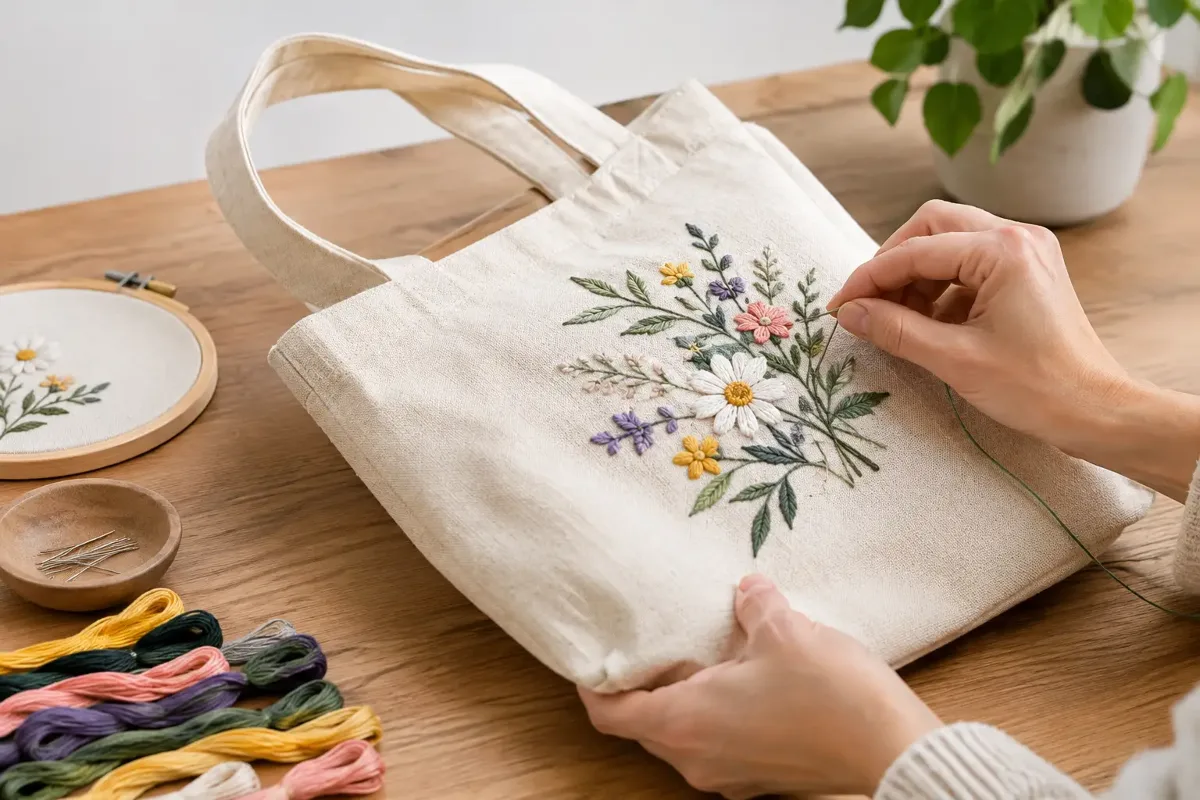
With a small floral motif, a name or a colourful bit of lettering, a plain fabric bag quickly becomes a favourite. Embroidering bags is a lovely way to personalise shop-bought pieces and give handmade ones a visible upgrade. To make sure the design doesn't distort later, the stitches don't sink into the fabric and the bag stays a joy to use every day, the key things are the right fabric build-up and good preparation.
Which bags are suitable for embroidery?
Bags made from firm woven fabrics with little stretch are the easiest to work with. Canvas, twill, denim or tightly woven cotton give the embroidery support and are easy to fit into an embroidery hoop. They work equally well for shopping bags, make-up bags, wash bags, drawstring bags with a reinforced front panel and small project bags.
Thin cotton fabrics work too, but they almost always need reinforcing on the back. Otherwise the fabric puckers, especially with densely stitched areas or lots of small stitches. With coated fabrics, faux leather, softshell or very thick bag bases, it's worth stitching a test piece first. Not every material copes well with needle holes, and some surfaces show visible holes after you unpick stitches.
The way the bag is constructed matters too. An unassembled front panel is much easier to embroider than a finished bag with lining and side seams. So if you're planning a larger design, it's best to stitch it onto the outer panel before cutting out, or at least before sewing the bag together. On finished bags, open areas on the front, on a patch pocket or on the flap are especially handy.
Embroidering bags: hand embroidery or embroidery machine?
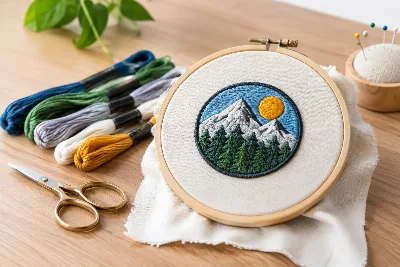
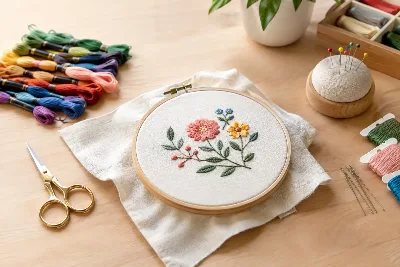
Both routes lead to very personal results, but they feel quite different. For individual names, small motifs and visible decorative stitches, hand embroidery is often the nicer choice. You need very little space, can combine colours on a whim and let the design grow as you work. On linen, canvas or cotton in particular, backstitch, stem stitch, satin stitch and French knots look wonderfully lively.
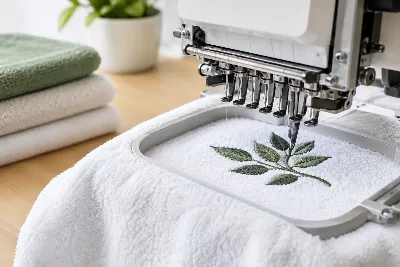
An embroidery machine makes sense if you want to stitch a design several times, want very even results or are using fine, detailed files. With bags, hooping correctly is crucial: the fabric needs to lie smooth but mustn't be overstretched. Often it isn't the finished bag itself that goes in the hoop, but the front panel together with a suitable stabiliser.
For beginners, a small hand-embroidered motif is often the more relaxed way to start. If you already work with an embroidery machine, you can also make whole sets, such as personalised gift bags for the family or bags for nursery. So it depends less on the "better" method and more on your design, your material and how many pieces you want to make.
Choosing the right thread and stabiliser
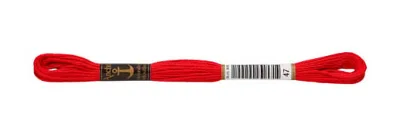
Embroidery thread doesn't just need to look pretty – it also has to suit how the bag will be used. Classic six-stranded cotton embroidery floss is versatile and can be used with one, two or more strands depending on the thickness you want. For crisp lines, a backstitch with two or three strands is often enough. For bold filled areas, you can use a few more.
For bags that are carried and washed often, colourfast quality thread is a good choice. Polyester embroidery thread is particularly hard-wearing and brilliantly coloured. Cotton thread, on the other hand, has a matt, natural look and goes beautifully with linen, unbleached cotton and rustic canvas. Metallic threads add lovely accents but can be a little stubborn in hand embroidery.
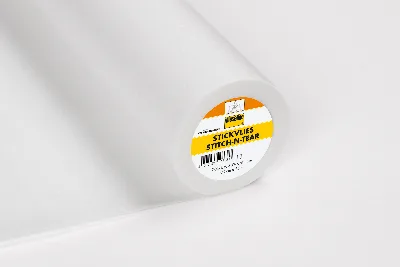
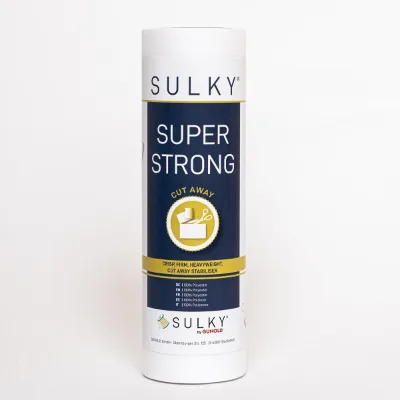
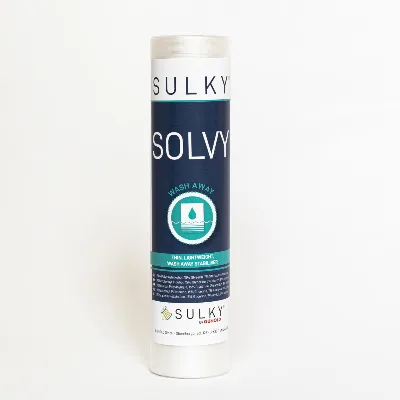
Embroidery stabiliser supports the fabric while you stitch. Tear-away stabiliser suits sturdy woven fabrics and simple designs. Cut-away stabiliser stays behind the design after stitching and gives thin fabrics lasting support. With dark or sheer fabrics, bear in mind that leftover stabiliser may show through on the back. For machine embroidery on textured materials such as towelling or coarse canvas, a water-soluble topper stops fine details from disappearing into the fabric.
A little tip from experience: always test your thread, needle and stabiliser on a fabric scrap first. That way you'll see straight away whether the needle makes holes that are too big, whether the thread glides smoothly and whether the fabric puckers.
Designs that look especially good on bags
A bag moves, gets folded, filled and handled. That's why designs with clear outlines usually work better than very delicate pictures. A simple sprig, a monogram, little mushrooms, an animal face or a short word stay easy to recognise even from a little distance. For children, names, vehicles, stars or favourite animals are lovely ideas. Adults often like floral designs, geometric patterns or subtle initials.
Choose the size carefully. A tiny motif on a large shopping bag can look lost, while a design that's too big quickly looks busy on a small make-up bag. Place the template on the bag before transferring it and take a step back. That makes it easier to see whether the proportions are right.
With lettering, legibility is what counts. Don't space the letters too tightly, and go for a simple font. Hand-embroidered names look crisp in backstitch or stem stitch. For machine embroidery, the lettering size should suit the file – very small letters quickly lose their shape on thick fabric.
Transferring and positioning the design neatly
First work out where the bag will be held or folded. A design right at the top edge may be hidden by the handles, while one near the base will wear faster. On a shopping bag, placing it roughly in the centre or slightly above usually looks balanced. On backpacks the front pocket is ideal, and on make-up bags the area above the zip.
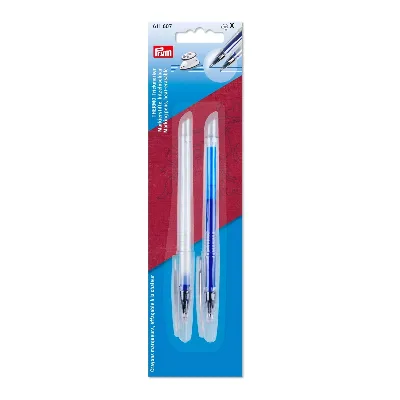
Depending on the fabric, you can transfer the design with a disappearing fabric marker, a chalk pencil, transfer paper or a template for tracing. With light, smooth fabrics you can place the template underneath and trace the lines. On dark canvas, light-coloured chalk or a white marking pen helps. Check beforehand that the markings can be removed completely.
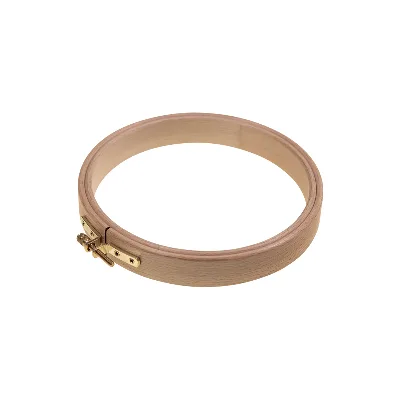
For hand embroidery, stretch the fabric smoothly in the hoop, but not as tight as a drum. If the bag is too small or already sewn together, a smaller hoop can help. If the area can't be hooped at all, work with short stitches and stabilise the back with interfacing or stabiliser. It takes a bit more patience, but it's perfectly doable.
Keeping your embroidery looking lovely every day
Secure the start and end of the thread carefully on the back without creating bulky knots. Avoid long floats on the back, as they can snag when the bag is in use. With hand embroidery, it's better to start a new thread when there's a bigger gap rather than carrying it across the back.
On a lined bag, the back of the embroidery will later be hidden between the outer fabric and the lining. That looks neat and gives the threads extra protection. If the bag is unlined, you can cover the back with soft iron-on interfacing or a small piece of fabric. Just make sure the cover doesn't extend into the seam allowance if the bag still needs to be sewn together.
Wash embroidered bags inside out and at a low temperature where possible. Harsh detergents, high spin speeds and frequent tumble drying put unnecessary strain on thread and fabric. For stains, spot cleaning is often enough. Especially with bags made from canvas or coated fabrics, it's worth checking the care instructions for the base material.
Choosing materials to suit your project
For a long-lasting shopping bag, the outer fabric can be nice and sturdy – canvas or heavyweight furnishing fabric, for example. For a small pouch, cotton or linen are lovely because the stitches are easy to place. If you're sewing a bag yourself, you can coordinate the colours of the outer fabric, lining, zip, webbing and embroidery thread. Even small contrasts make a big difference: natural linen with red thread looks classic, dark canvas with mustard-yellow details looks modern, and a children's bag with brightly coloured thread looks cheerful.
At Die Stoffkönigin you'll find fabrics in small quantities, plus embroidery thread, needles, stabiliser and matching sewing supplies. That's handy if you're making a test piece first or only need a small accent fabric for your design. If you're unsure about fabric weight, stabiliser or colour choice, personal advice can help turn your idea into a favourite bag you'll actually use.
Feel free to start with a manageable design and give yourself time for neat stitches. The small irregularities of a hand-embroidered bag aren't mistakes – they're exactly the detail that turns an everyday object into your own one-of-a-kind piece.
Matching categories
Matching products
Embroidery Hoop
€13.90per piece
Anchor Stranded Cotton 8 m Cherry Red
€1.95per piece
Unit price €0.24 / m
Interfacing
€2.45per 0.5 m
Unit price €4.90 / m
Sulky Super Strong 25 cm × 5 m in White
€13.50per piece
Unit price €10.80 / m²
Sulky Solvy 25 cm × 10 m in Transparent
€14.00per piece
Unit price €5.60 / m²
Prym THERMO marking pen in Blue
€9.90per piece